Ever felt that familiar, sinking feeling when Windows pops up that dreaded “Low Disk Space” warning? If you own a Lenovo LOQ 15, especially with today’s massive game install sizes and ever-growing media libraries, you know the struggle is real. You’re not alone in constantly battling for every last gigabyte!
But here’s the great news: Your trusty Lenovo LOQ 15 is actually built for this kind of expansion. Adding a second NVMe SSD is one of the most impactful, yet surprisingly simple, upgrades you can perform. It immediately boosts your storage capacity and can even make your whole system feel snappier.
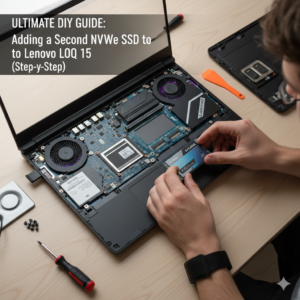
This isn’t just a boring technical manual; this is your practical, hands-on guide. I’m going to walk you through the entire process—from figuring out what tools you need to getting that new drive recognized in Windows—for a successful, stress-free upgrade. Get ready to banish those storage warnings forever!
Does the Lenovo LOQ Have Two SSD Slots? (A Common Question Answered)
Let’s tackle the elephant in the room first, because this is the most common question I see: Does the Lenovo LOQ series truly offer expandable storage?
Absolutely, it does! Almost all configurations of the Lenovo LOQ 15—including the current heavy hitters like the LOQ 15IRX9—come factory-equipped with two M.2 NVMe SSD slots. Typically, one slot holds your primary, factory-installed drive. The other slot, however, is often left empty, just waiting to become your massive new game or media library. This fact makes the Lenovo LOQ 15’s expandable storage feature a massive selling point and a huge win for us DIY upgraders.
How to Add an SSD to a Lenovo LOQ Laptop: Your Personal Step-by-Step Installation Guide
Before we dive in, let me just say: Take a deep breath. This isn’t brain surgery! But because we are dealing with delicate electronics, take your time, and if anything feels wrong, stop and reassess. Also, seriously, back up anything crucial beforehand—just in case!
1. Gathering Your Gear: Required Tools to Open Lenovo LOQ 15 and Install an Extra SSD
You don’t need a professional workshop for this; a few key items are all it takes:
- A Tiny Screwdriver: You’ll need a precision Phillips-head (PH0 or PH1) for those small case screws. A magnetized tip is a godsend here!
- A Plastic Prying Tool (Spudger): Please, please don’t use a metal screwdriver to pop the case open! A plastic guitar pick or a specialized spudger is essential for gently releasing the plastic clips without scratching your beautiful laptop.
- Anti-Static Gear: Seriously, wear an anti-static wrist strap. It’s cheap insurance to protect those pricey internal components from static zaps.
- Your New Drive: Make sure you’ve bought an M.2 2280 NVMe SSD. That’s the standard form factor (22mm wide, 80mm long) your LOQ expects.
- The Tiny Screw: Crucial! You need a small screw to anchor the SSD. Sometimes it’s already on the motherboard standoff, sometimes it comes with the new SSD, and sometimes you have to scrounge for one. Have one ready!
2. The Critical Pre-Flight Checklist: Power Down and Disconnect
This part is mandatory:
- Complete Shutdown: Don’t just close the lid! Go to Start > Power > Shut Down. Wait until all the lights are off.
- Unplug Everything: Disconnect the power brick, USB dongles, HDMI cables—literally everything.
- Drain the Power: Once it’s all unplugged, press and hold the power button for about 15 seconds. This simple act discharges any residual electricity hanging out on the motherboard. Safety first!
3. Crack Open the Case: Opening Your Lenovo LOQ 15
- Prep the Workspace: Lay your laptop upside down on a clean, soft surface—a bath towel or a microfiber cloth works great—to protect the lid.
- Unscrew: There are usually about a dozen screws on the bottom panel. Remove them all. Do yourself a massive favor and put them in a small dish or cup so they don’t roll away.
- The Gentle Pry: This is the part that makes people nervous. Start at the hinge area or a corner. Insert your plastic spudger into the seam and gently run it along the edges, wiggling slightly to pop the plastic clips free. You’ll hear little clicks—that’s good! Be patient; forcing it is how you break clips. The panel should eventually lift right off.
4. Where is the Second NVMe Slot Located on the Lenovo LOQ 15 Gaming Laptop?
With the back panel off, the inner workings of your laptop are revealed. Your primary drive is there, probably near the battery. Look closely at the motherboard for an empty slot that looks exactly like the one holding your current SSD—it’ll be labeled “M.2” or have a screw post ready.
For users asking How many SSD slots are in the Lenovo LOQ 15IRX9? You should easily spot your first drive and the empty second slot, confirming the dual-slot setup.
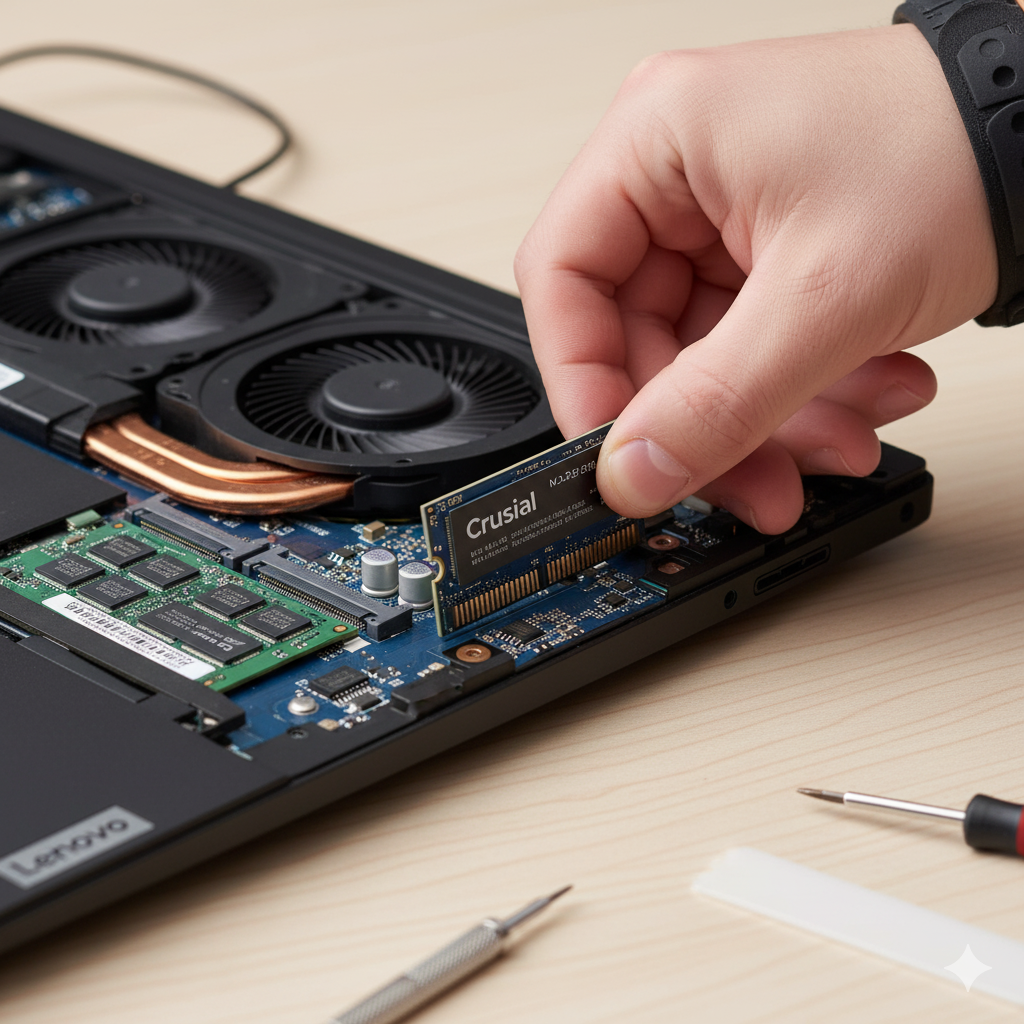
5. Installing Your New M.2 2280 SSD in Lenovo LOQ 15
- Seat the Drive: Grab your new NVMe drive. Notice the cutout (key) on the connector pins; it only goes in one way. Slide the drive into the empty slot at a gentle, roughly 25-degree angle. It should click into place lightly, but don’t force it.
- Screw it Down: Gently press the tail end of the SSD down until it rests flat against the standoff. Use that tiny screw to secure the end of the drive. Snug, but don’t overtighten—you’re obtaining plastic and metal here.
6. The Finish Line: Reassembly
- Close it Up: Align the bottom panel carefully over the chassis. Press along all the edges to ensure those clips snap back into place nicely.
- Screw it Back In: Reinstall all the screws you removed earlier.
- Lenovo LOQ 15 Disk Management: Guide for New NVMe Drive
Congratulations! The hard part is over. Now, we need to tell Windows, “Hey, I installed a new drive, let’s use it!”
- Power On: Plug in your adapter, power up the LOQ 15, and let Windows load as normal.
- Find Disk Management: The quickest way is to right-click on the Start Button (the Windows logo) and select “Disk Management.”
- Initialize the Disk: You’ll probably see your new SSD listed, perhaps called “Disk 1,” and marked as “Unknown” and “Not Initialized.” Right-click on the disk itself (not the unallocated space) and choose “Initialize Disk.” Select GPT (GUID Partition Table)—it’s the modern standard—and click “OK.”
- Format and Label: The drive space will now show as “Unallocated.” Right-click the unallocated space and select “New Simple Volume.” Follow the wizard: assign it a drive letter (D:, E:, etc.), select NTFS as the file system, and give it a friendly label (like “Game Drive” or “Media Vault”). Click “Finish.”
That’s it! Your shiny new drive is formatted and ready for action.
How to Install a Second NVMe SSD Without Voiding Lenovo LOQ 15 Warranty
This is always a top concern! Can you really open your new laptop?
Generally speaking, yes! Manufacturers like Lenovo are well aware that customers like to upgrade user-serviceable components like RAM and SSDs. Opening the laptop carefully to install an SSD usually will not void your entire warranty.
The caveat is this: if you accidentally damage something while you’re in there—say, you slip with the screwdriver and scratch the motherboard, or you force a connector—that specific damage won’t be covered. This is why using plastic tools, wearing that wrist strap, and following the steps meticulously is so important. Do the upgrade with care, and you’ll keep your warranty intact.
Final Thoughts on Your DIY Lenovo LOQ 15 Secondary SSD Upgrade
You just upgraded your own machine! Installing a second 2TB NVMe SSD in your Lenovo LOQ 15 IRH8 (or any other sub-model) is one of the most practical ways to future-proof your gaming experience.
It’s more than just adding space; it’s about claiming the potential your LOQ 15 was built with. Enjoy your new storage—I bet those game libraries are breathing a massive sigh of relief!